Update by Peter Becker
We had a productive year working on the East Jordan & Southern No. 2 in 2021.
Exterior Work
The year started out with Owen making a new lettering stencil for the car so he will be ready to letter the car when the time is right.

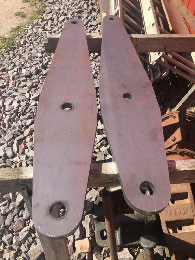
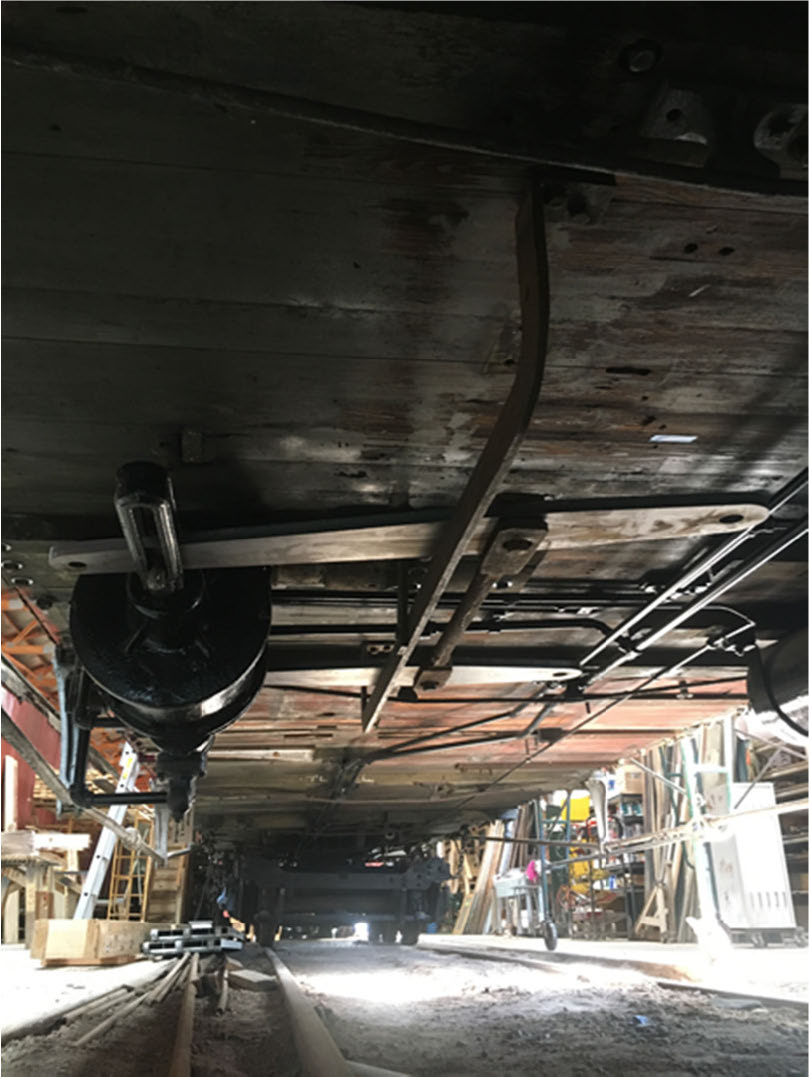
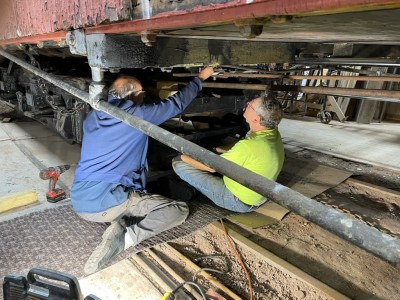
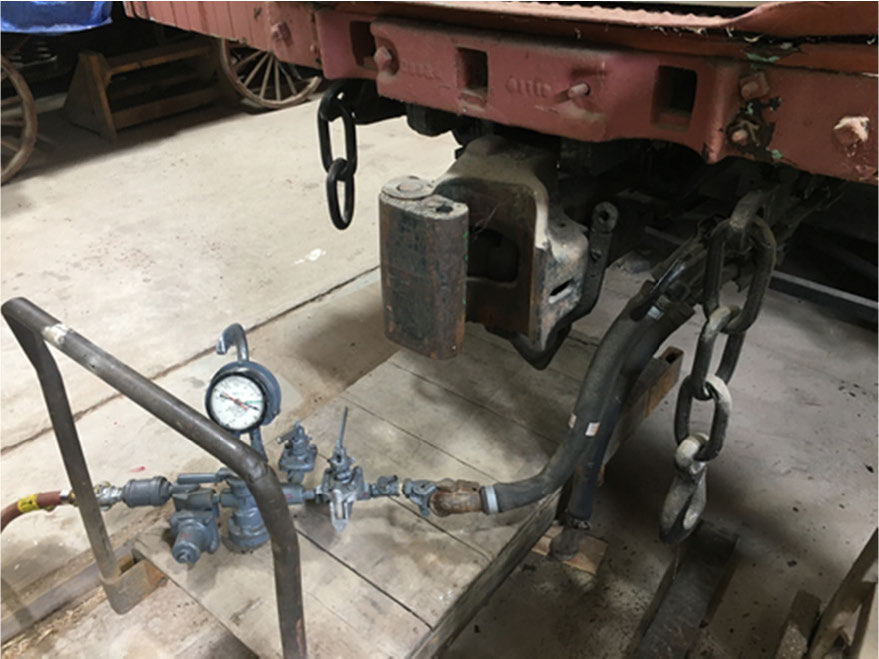
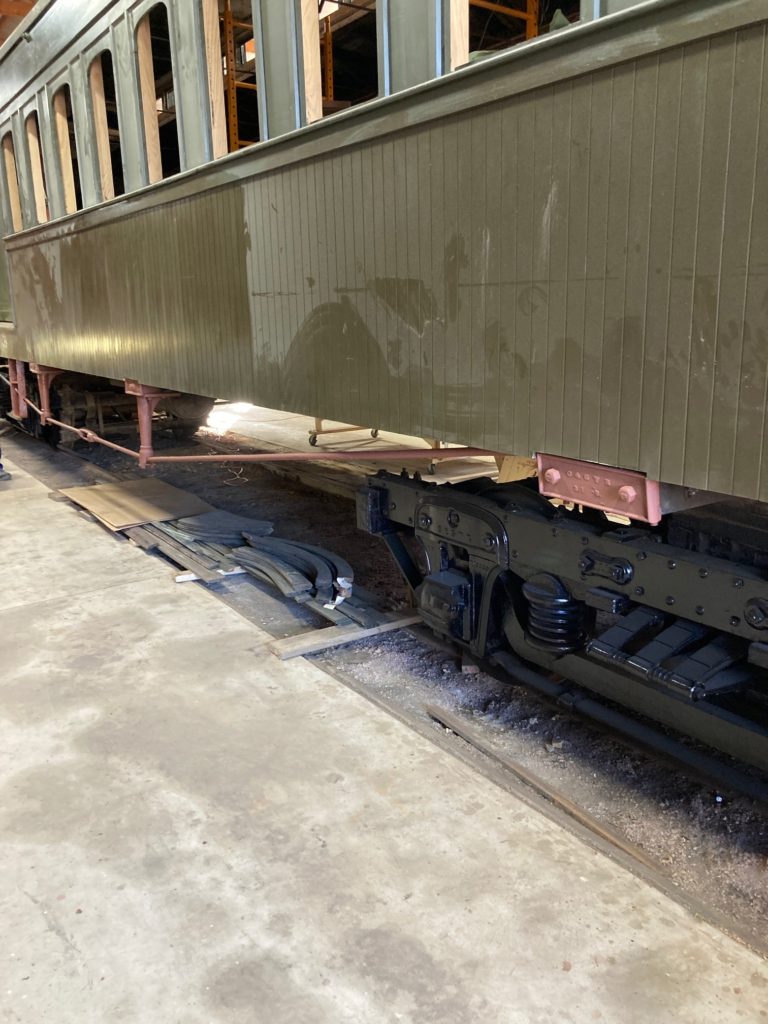
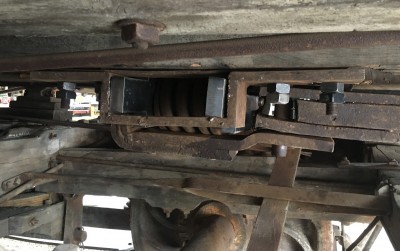
A lot of time was spent cleaning up the trucks and truss rods. They were then primed and painted. We ran out of warm weather so there is some painting left to be done. Also under the car, the north end draft gear was put back together with new spring followers, the plates that transfer force from the draw bar to the car body.
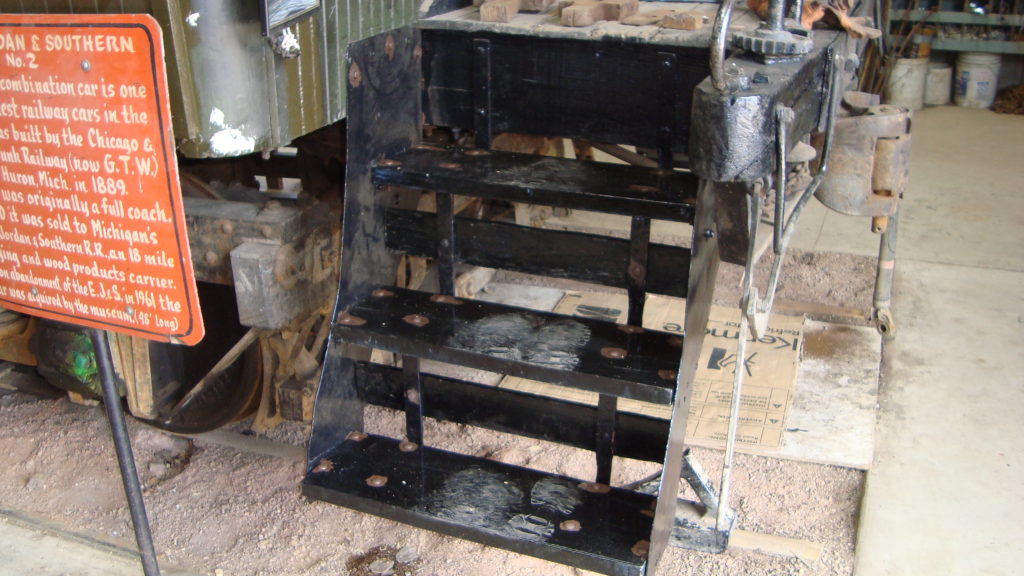
All four platform steps are now functional. This required everything from a complete rebuilt for the southeast step to straightening the metal side of the northeast step to simply replacing the treads of the southwest step.
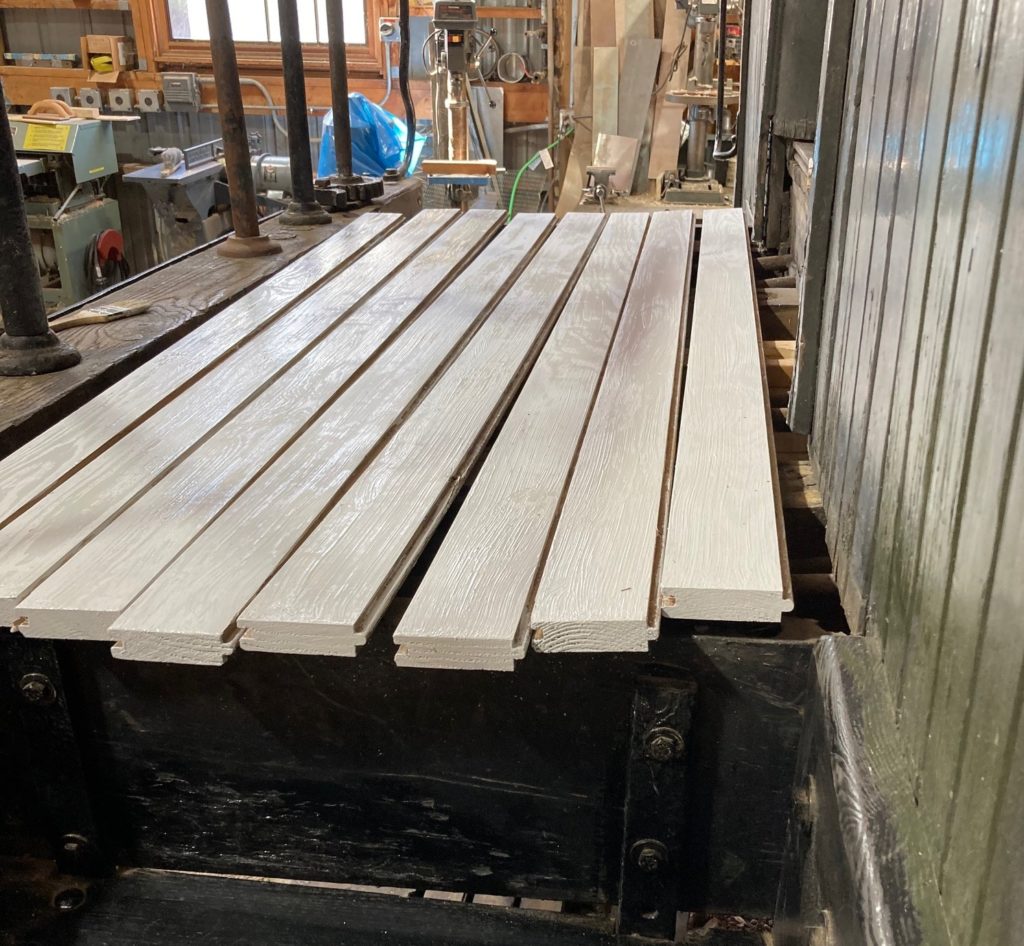
The platform deck boards were replaced also. The work required the removal of the door thresholds and some repair around them. On the south end this also required repair of the rotten platform sill.
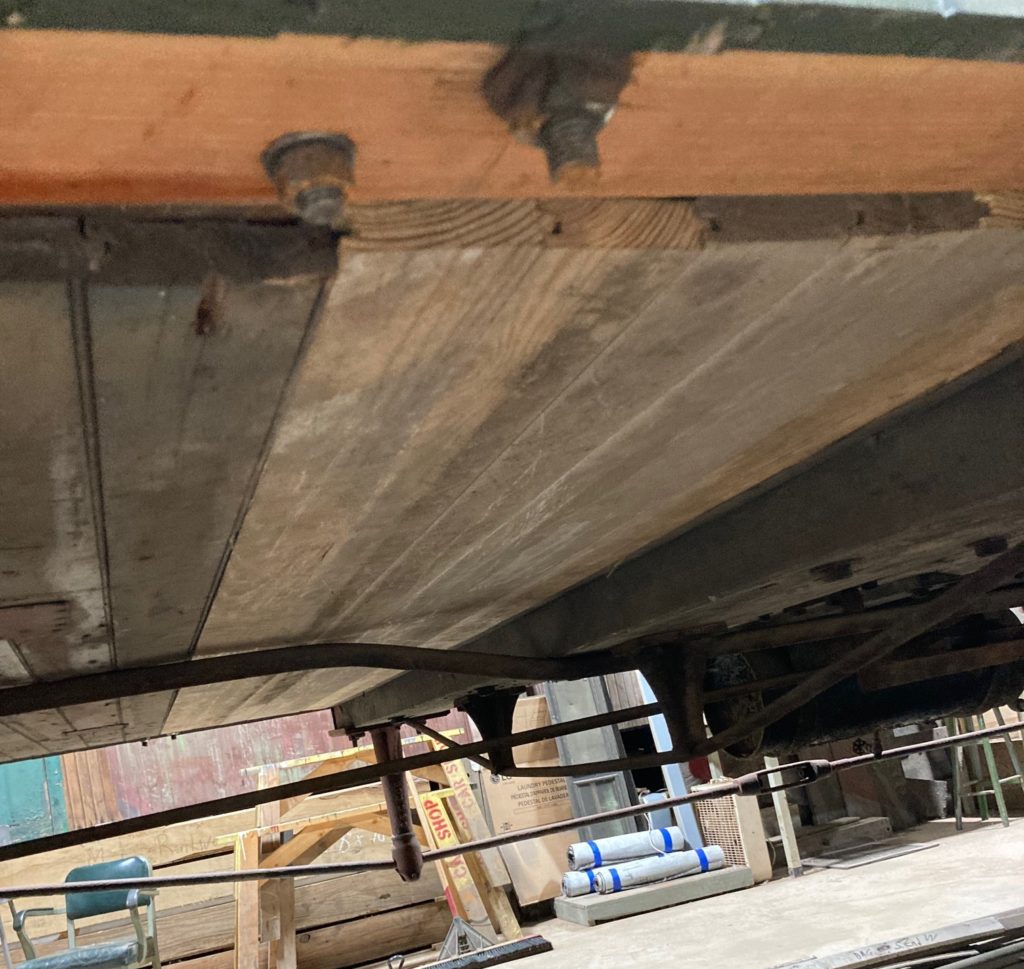
Repair work on the sound deafening ceiling, the boards attached to the underside of the car body frame, was started. The deafening ceiling was partially removed in the past to facilitate repair work so it is now piece work to fit replacement boards in.
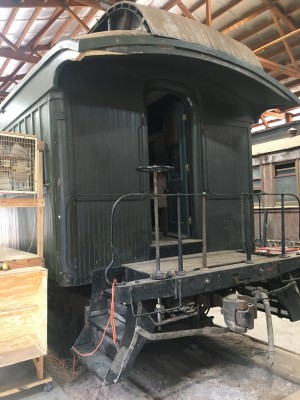
Other exterior work included fastening the lower roof drip rail in place, repairing the south end canopy, straightening the north platform hand rail and installing a hand brake shaft and wheel on the south end platform. An additional post for the south end hand rail was also found and installed. The following two photos show the south platform with the roof drip rail, the new wood on the canopy corners and the installed brake wheel and hand rail post.

Interior Work
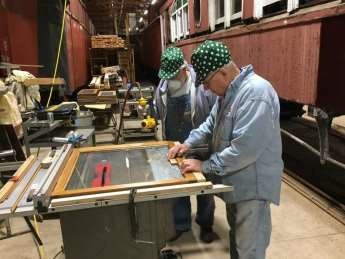
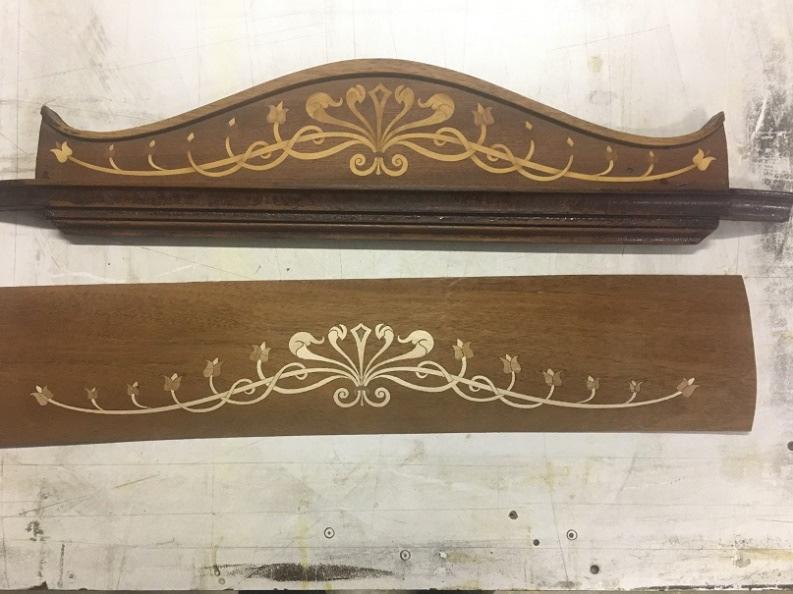
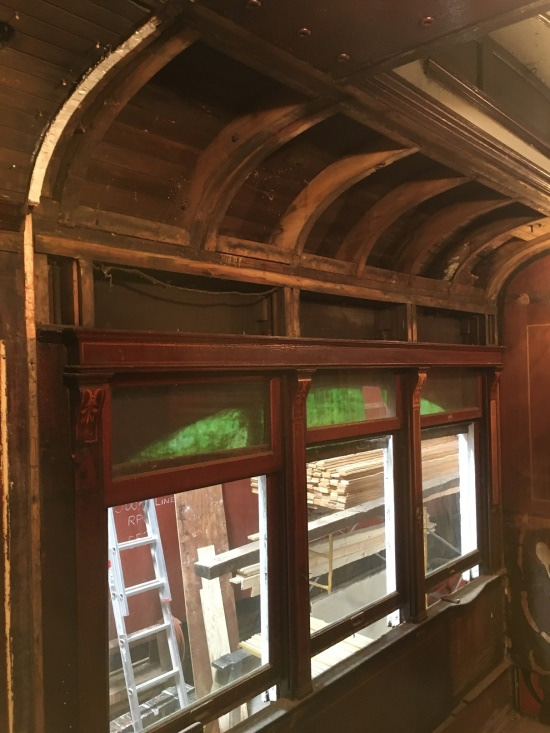
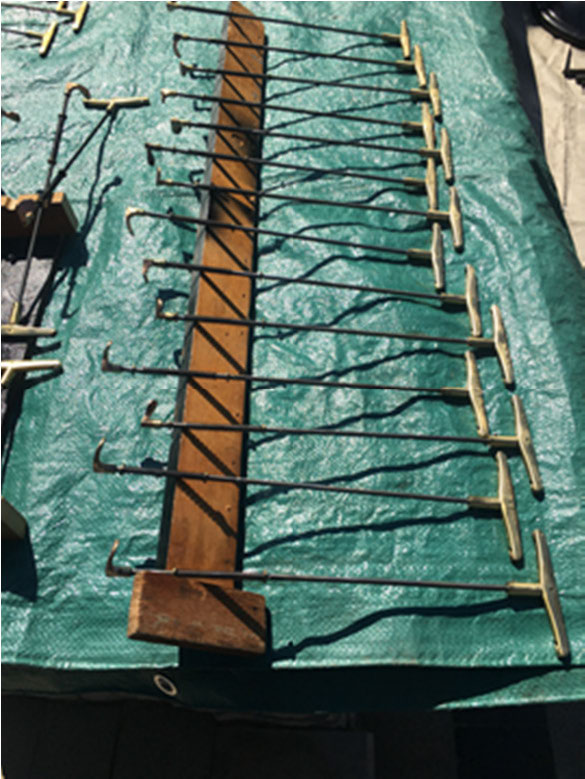
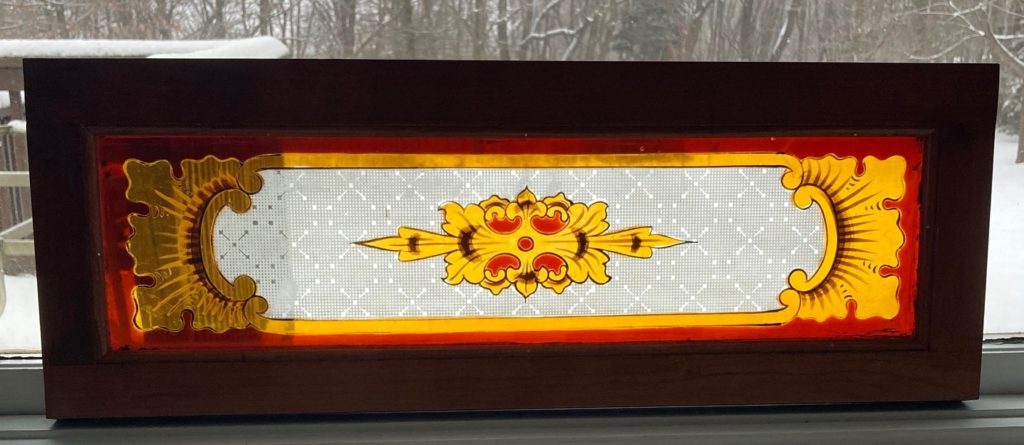
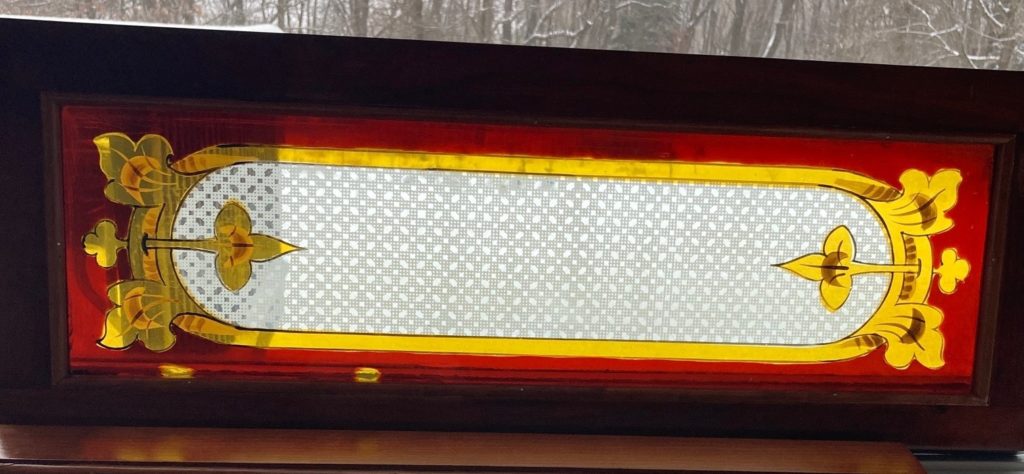
The project last winter was to clean the clerestory windows and mount them in new sash that was built some time ago. There are 30 windows and 28 are now done. Two stained glass panes are missing which is delaying completion of the final 2 windows. There are 2 patterns of glass which are shown here in new sash.
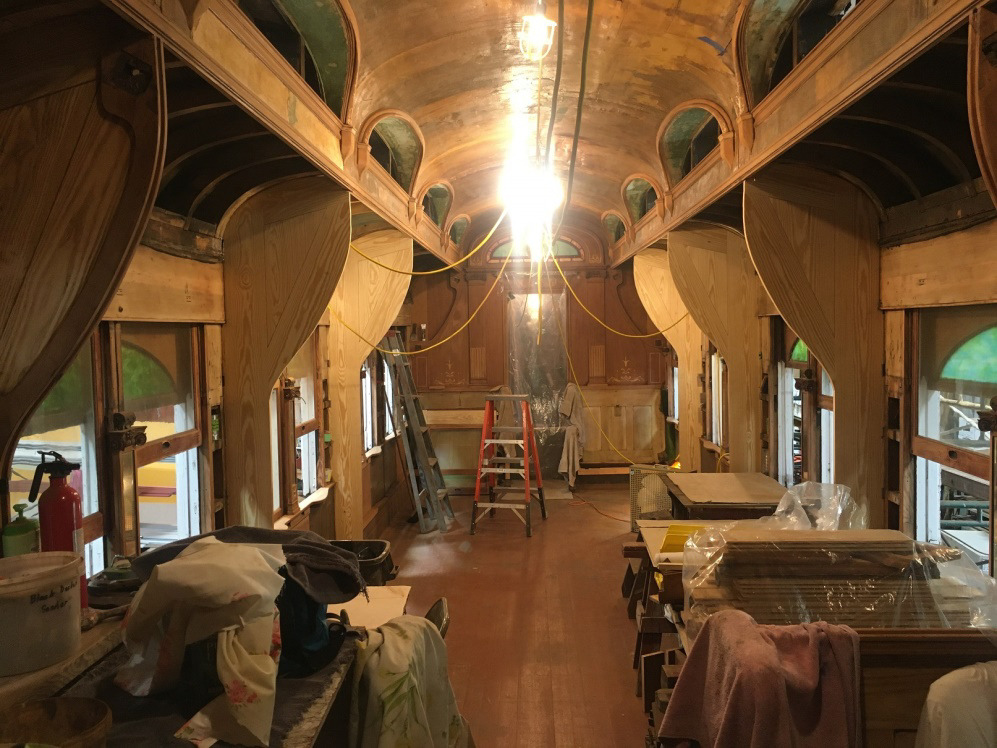
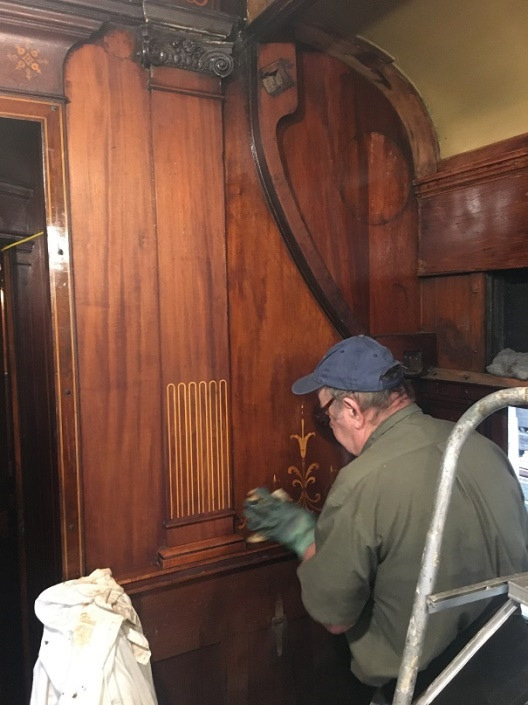
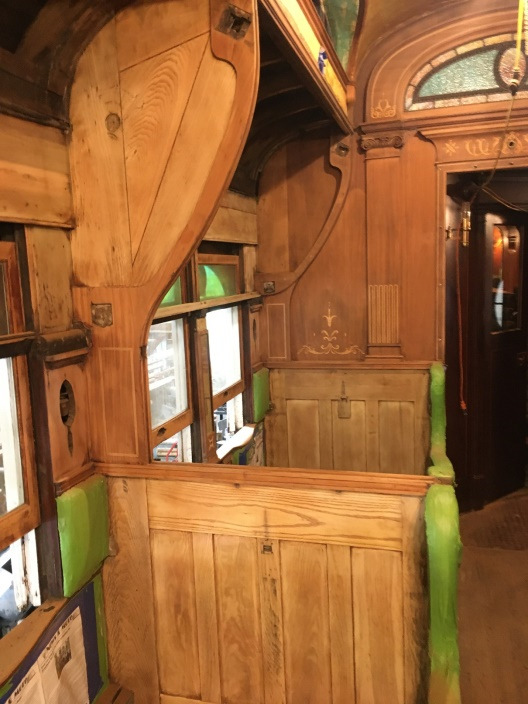
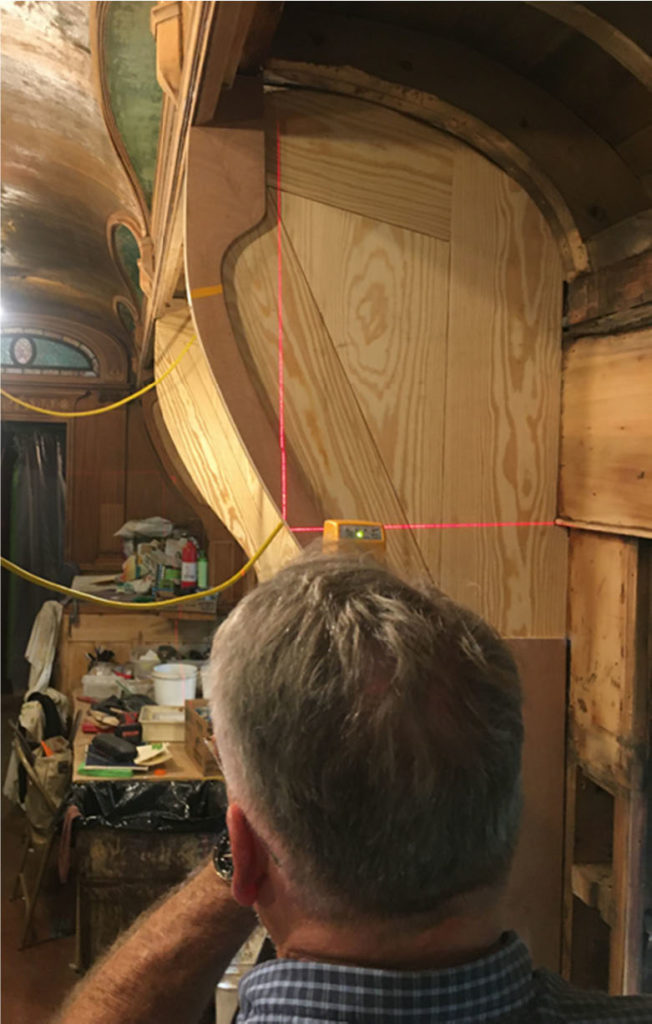
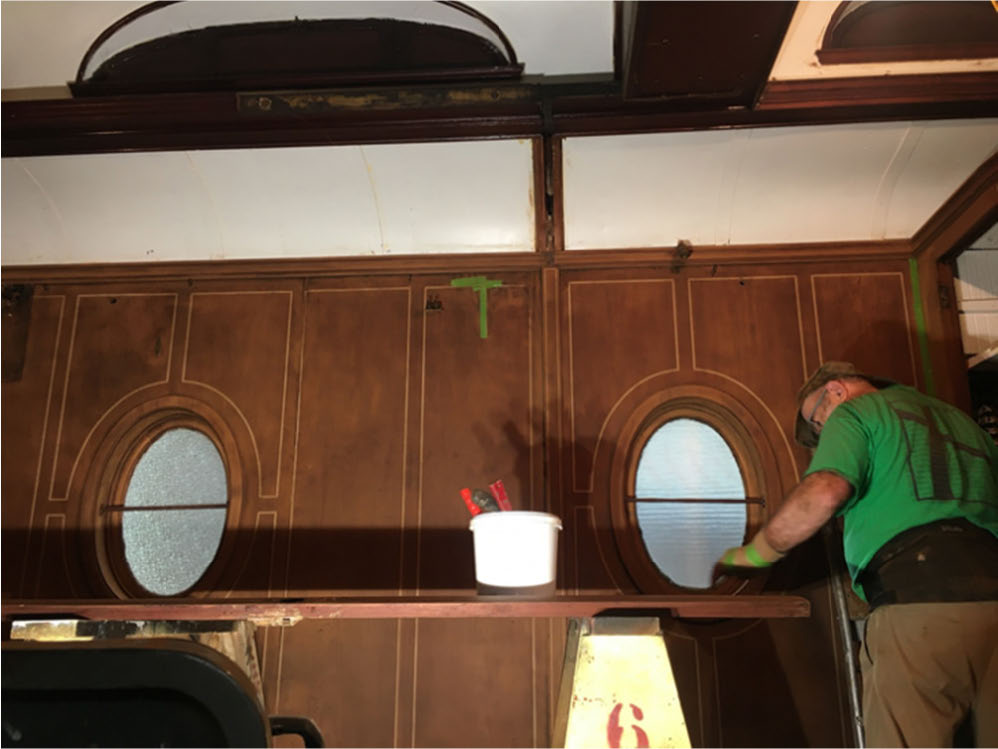
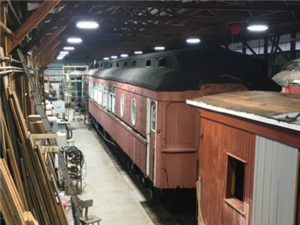
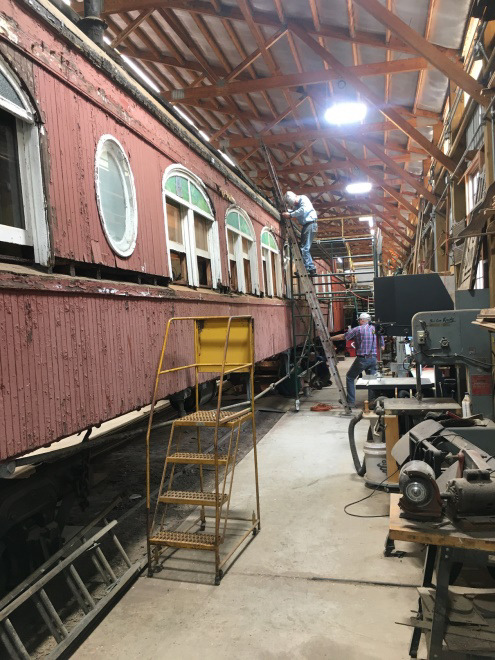
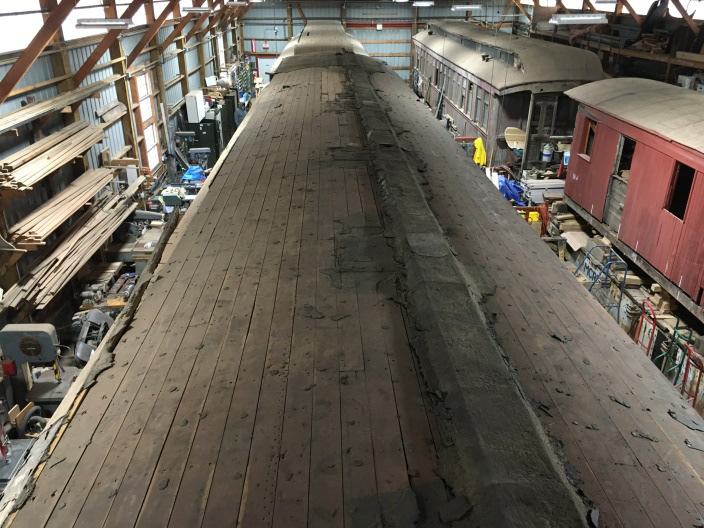
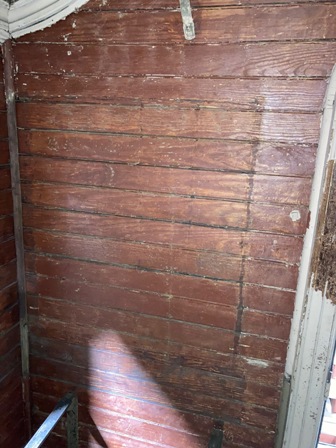
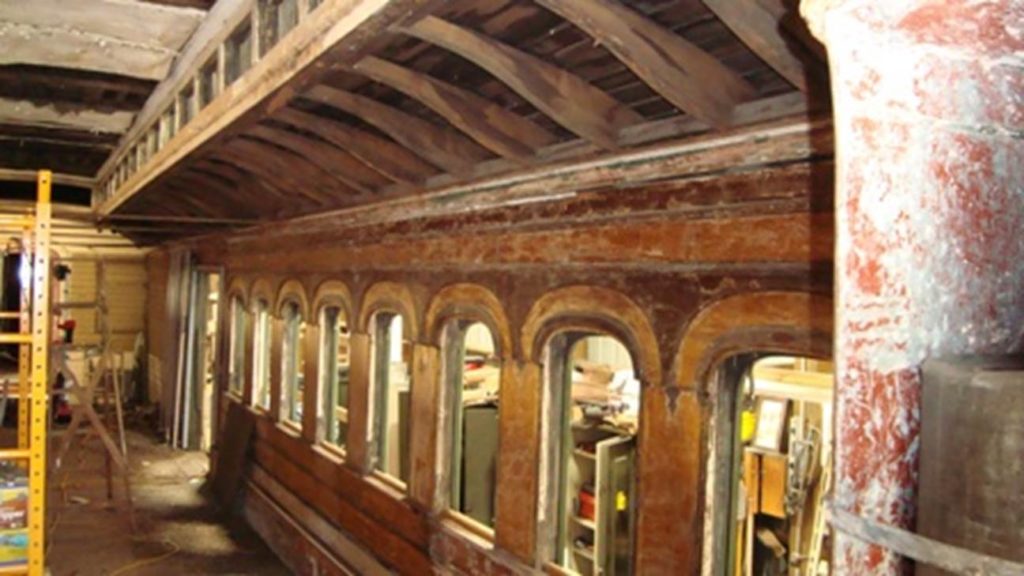
Most of the interior work this year was stripping paint and removal of the headliner sheet metal. The next two pictures show the current state of the interior. The plan is to repaint the baggage section in the reddish color and the passenger section will be stained and varnished.
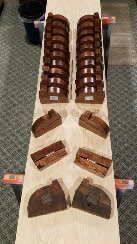
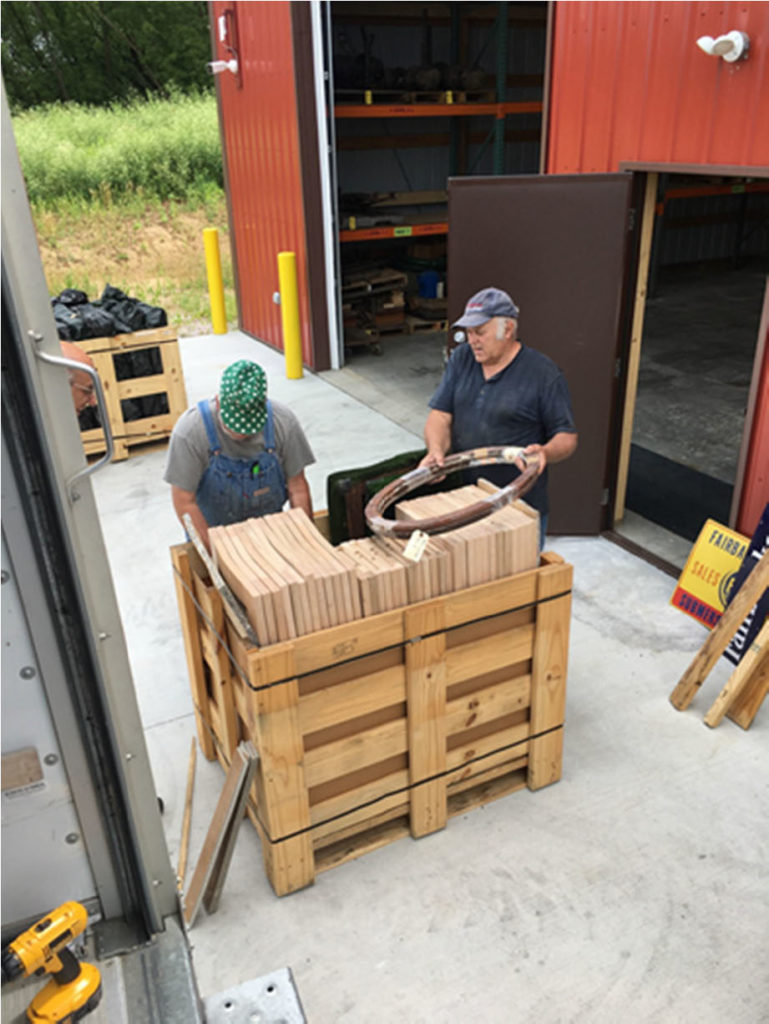
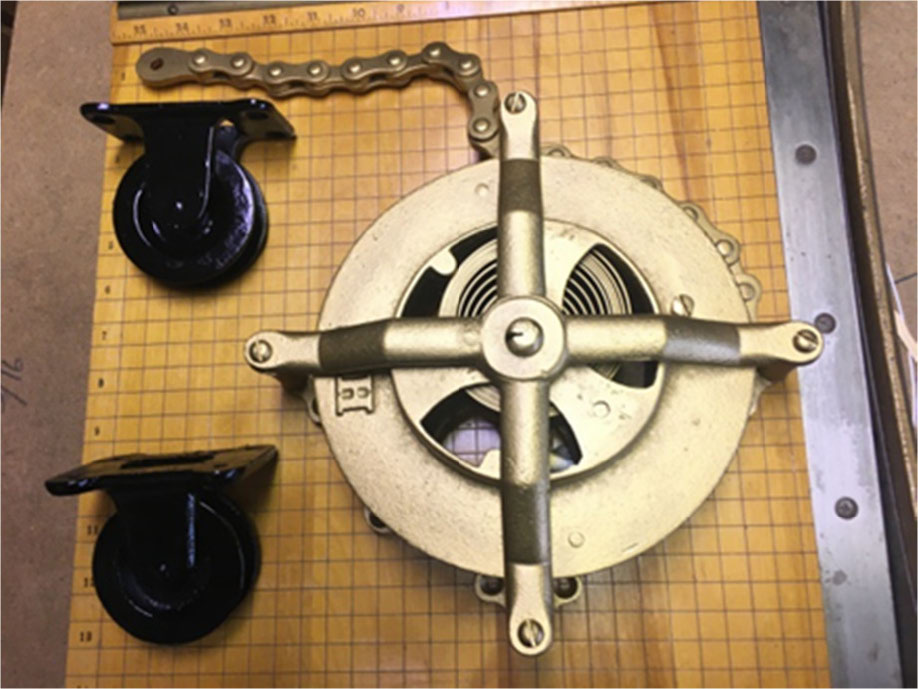
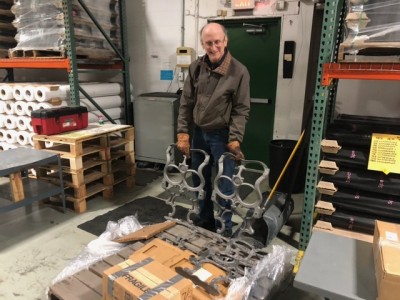
Finally, the original examination of the car interior found evidence that the partition between the baggage section and the passenger section was 6 windows from the north end of the car. In the process of stripping paint we realized the partition was originally next to the baggage door. Since we plan to use the original partition location, additional coach seats are needed. We ordered 5 mores sets of cast iron seat parts and they finally arrived just after Christmas.
All this work was accomplished by Dave M., Owen H., Jeff H., Jim B., Bill B., Dave W., Tom B., Richard P. and I am sure a few others that I am sorry to miss. Thanks for the help.